Modding an Infrared Camera
To sense the infrared light coming from my FTIR frame I would need a camera that could only see infrared. As it turns out, the sensor in most web cameras (a CMOS sensor) is sensitive to infrared light. However, most camera manufacturers place a filter within the camera to block the infrared light, so that images being made are closer to what the human eye sees. After all, when have you seen a remote control let off a bright beam of light every time you changed the channel, or drank clear Coca-Cola? To make an infrared camera, I simply had to replace the infrared block filter, with a filter that blocks everything except infrared light. A cheap way to do this is to use an exposed photonegative.
I purchased the cheapest camera I could find at Radio Shack. A $30 Logitech Quickcam Chat. Then I removed anything that looked remotely removable, and unscrewed everything else. here is the inside of the camera: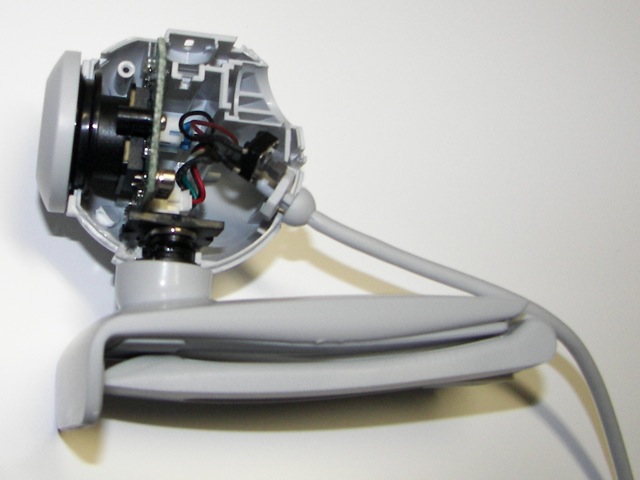
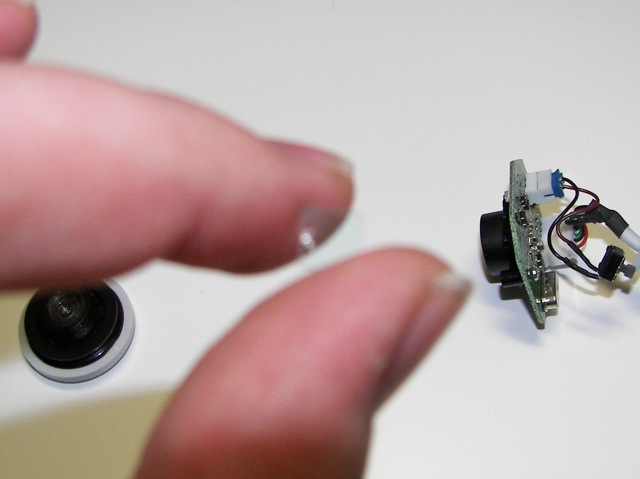
The infrared sensor was found by unscrewing the lens. It is a small piece of glass that has a red-ish tint to it in the light. It cracked a bit coming out, but that is okay, as it is no longer needed.
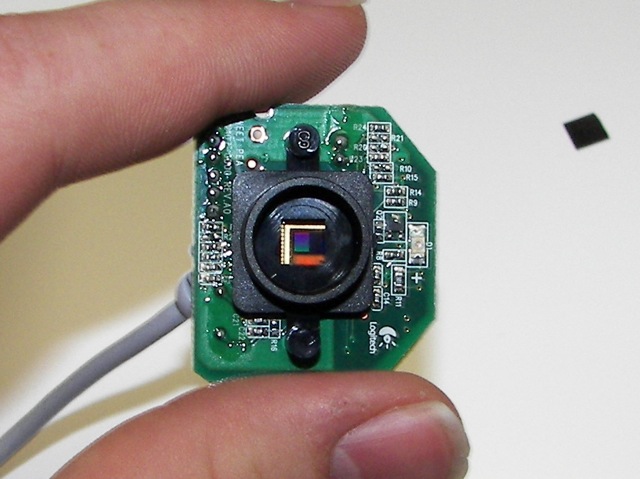
The inside of the camera sensor:
My best try at taking a picture of the IR filter:
Once the IR filter was removed, I put in the exposed photo negatives. The more you put in, the blurrier your image is going to be. However, they aren't perfect filters and will still let some visible light through, especially if it is bright. I found that three little layers worked fine.
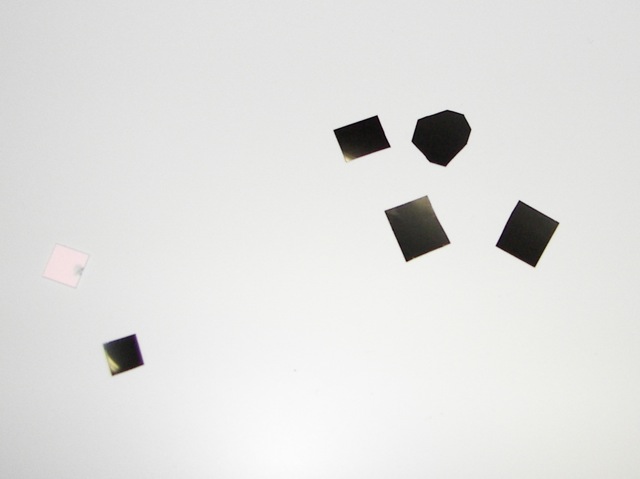
Here are the filters I put in. You can also see the IR filter to the left:
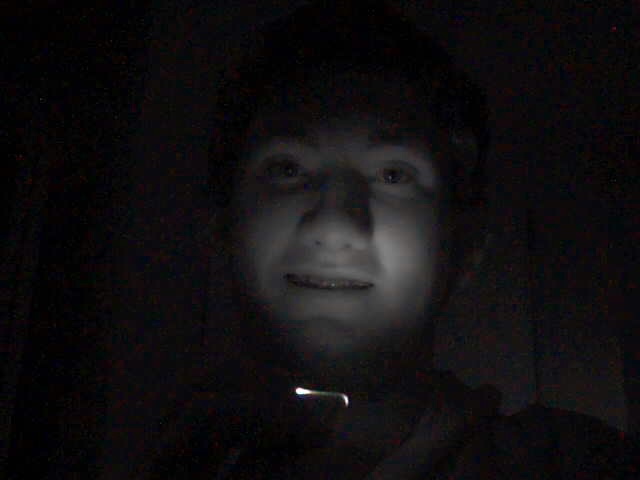
Now I put the camera back together and tested it out. It wasn't compatible with OS X natively, but with the help of the driver from http://webcam-osx.sourceforge.net/ it worked just fine. If you are using OS X, make sure your camera runs on OS X before you take it apart, as any disassembly tends to void most warranties. It is really fun to play with the camera.
You can use a remote control as a flashlight.
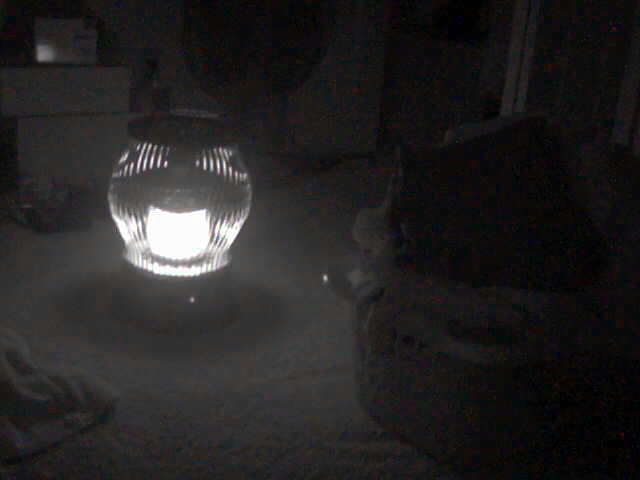
Any really hot things, like my space heater become light sources.
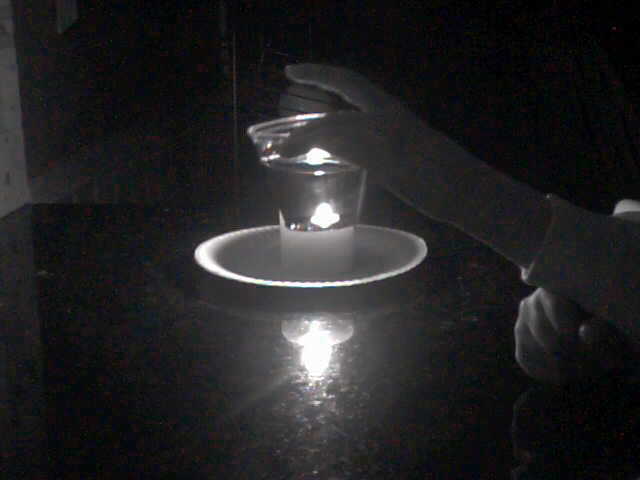
Coca-cola even looks like water with IR (that is a candle behind the cup of Coke, by the way).
*Note, these IR pictures actually weren't taken with this camera. I got a different camera later on and took these pictures with it.
I purchased the cheapest camera I could find at Radio Shack. A $30 Logitech Quickcam Chat. Then I removed anything that looked remotely removable, and unscrewed everything else. here is the inside of the camera:
The infrared sensor was found by unscrewing the lens. It is a small piece of glass that has a red-ish tint to it in the light. It cracked a bit coming out, but that is okay, as it is no longer needed.
The inside of the camera sensor:
My best try at taking a picture of the IR filter:
Once the IR filter was removed, I put in the exposed photo negatives. The more you put in, the blurrier your image is going to be. However, they aren't perfect filters and will still let some visible light through, especially if it is bright. I found that three little layers worked fine.
Here are the filters I put in. You can also see the IR filter to the left:
Now I put the camera back together and tested it out. It wasn't compatible with OS X natively, but with the help of the driver from http://webcam-osx.sourceforge.net/ it worked just fine. If you are using OS X, make sure your camera runs on OS X before you take it apart, as any disassembly tends to void most warranties. It is really fun to play with the camera.
You can use a remote control as a flashlight.
Any really hot things, like my space heater become light sources.
Coca-cola even looks like water with IR (that is a candle behind the cup of Coke, by the way).
*Note, these IR pictures actually weren't taken with this camera. I got a different camera later on and took these pictures with it.
Labels: IR camera, multi-touch, touch sensing
posted by Bridgeyman at
6:05 PM
1 Comments
![]()